Cleaning & Preparation
These foundational techniques are usually your first steps in post-processing. Depending on your print’s purpose, they might be all you need.
1. Support Removal
Support removal is the most basic post-processing step. The difficulty varies depending on where supports are located—tight corners and hard-to-reach areas require more care.
Insoluble Supports
These are made from the same material as your main print. Single-extruder FDM printers can only use this type, as both the part and supports print from the same filament spool. Remove them by snapping them off with your fingers or cutting them with pliers.
Soluble Supports
If you have a dual-extruder printer, you can use soluble supports that dissolve in liquid. This eliminates the challenge of removing supports from difficult areas and leaves minimal marks or residue.
Common soluble support materials include HIPS (used with ABS, dissolves in D-limonene) and PVA (pairs with PLA, dissolves in water).
Pros:
- Straightforward process
- Minimal equipment needed
- Soluble supports allow more design flexibility
Cons:
- Can leave marks even with careful removal
- Supports don’t enhance appearance or structural properties (though sometimes necessary)
2. Sanding
Besides support removal, sanding is the most common post-processing technique. FDM prints typically have rough surfaces, and sanding is the easiest way to smooth them.
After printing, your part might have blobs or marks left from support removal. Sandpaper removes these blemishes effectively. Start with low-grit sandpaper (150-400) and progress through several stages to higher-grit options (up to 2,000).
Helpful Tips:
Use circular movements and add water while sanding. Friction between sandpaper and the surface generates heat, which can damage fine features, especially with heat-sensitive filaments. Wetting your part absorbs excess heat.
With FDM parts where layers are visible, circular sanding motions are important. Sanding parallel or perpendicular to layers can ruin the visual appearance.
Pros:
- Excellent preparation for polishing or painting
- Smooths surfaces nicely
- Works with all FDM materials
Cons:
- Time-consuming
- Difficult on small features and details
- Can affect dimensional accuracy
3. Joining Parts
When your design is too large for your printer’s build volume, you’ll need to split the model and assemble the pieces after printing.
Gluing
The easiest joining method uses specialized products like 3D Gloop! or bonding agents like super glue. Lightly sand the surfaces before gluing, and apply filler to any large gaps at the seams after assembly.
Chemical Welding
Also called “cold welding,” this works for materials that dissolve in solvents. ABS and ASA react to acetone—apply a small amount to slightly melt the plastic, then attach the other part to the melted edge for a secure weld.
Important: Acetone is hazardous. Take proper safety precautions when storing and handling it.
Heat Welding
For materials that don’t react to acetone, use a soldering iron or 3D printing pen. PLA’s low melting point allows friction-based welding.
Pros:
- Affordable
- Quick process
- Low skill required for gluing and chemical welding
Cons:
- Weak at joining seams
- Can get messy
- Higher skill needed for heat or friction welding
Finishing Techniques
Finishing techniques are your final post-processing steps. They eliminate visible layer lines and create the smoothest possible surface. With proper finishing, no one will suspect your prints came from a 3D printer.
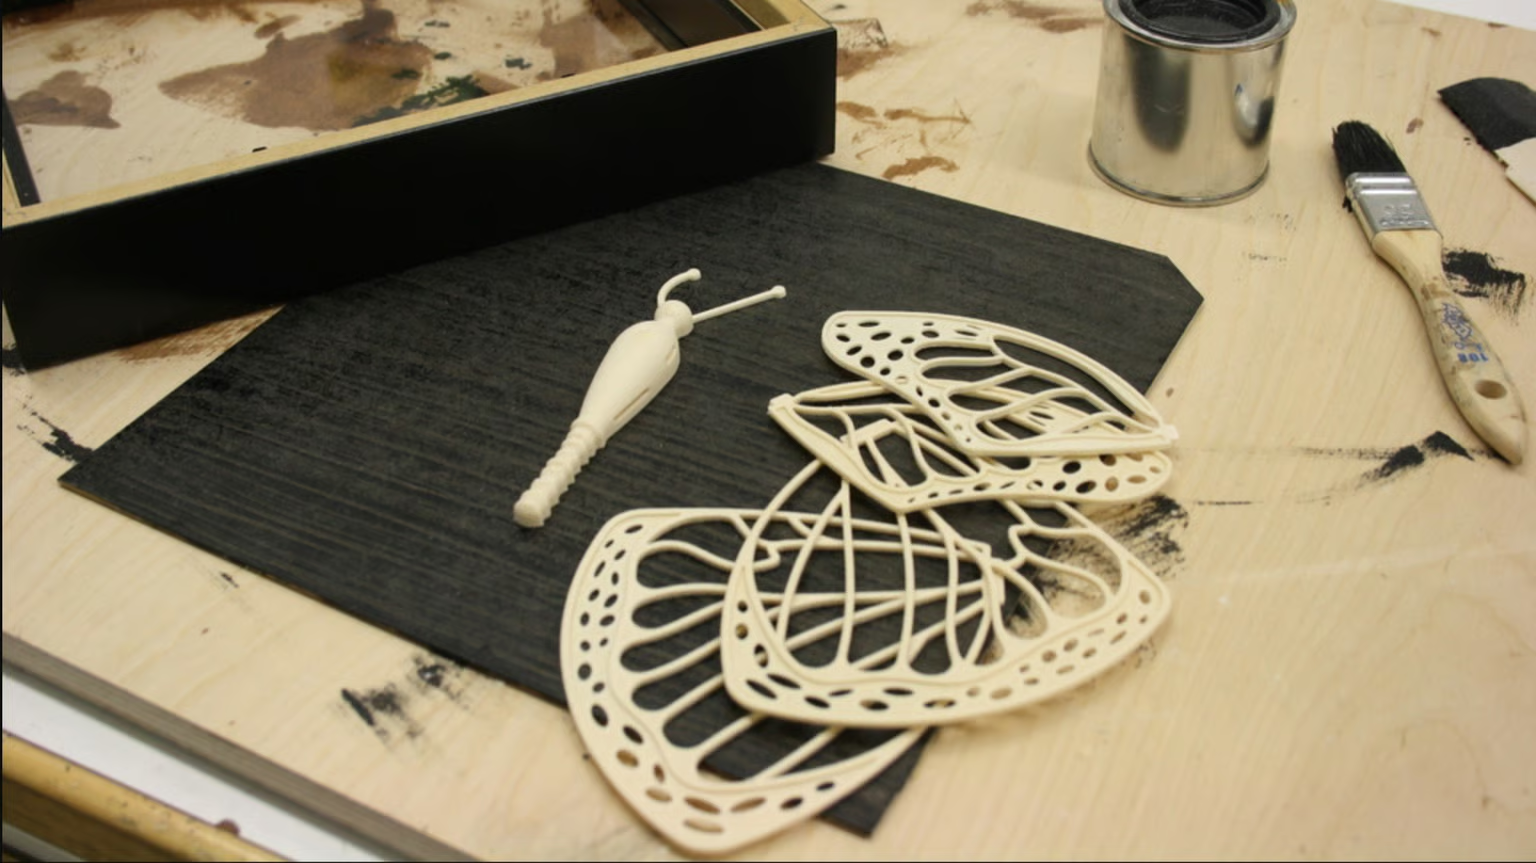
4. Priming & Painting
Priming prepares a surface for painting by creating a base layer. Use primer paint or primer spray before applying your final colors.
Process:
Start by sanding your part with low- and medium-grit sandpaper to remove layer lines and smooth the surface. Apply two coats of primer, allowing drying time between coats.
Once dry, paint your print using a brush or spray. Use masking tape for sharp color intersections.
Always work in well-ventilated areas or outdoors, and wear a mask to avoid breathing fumes.
Pros:
- Enhances appearance and feel
- Creates smooth surface finish
- Works on all FDM materials
Cons:
- Time-consuming
- Equipment costs (paints, sprays, sandpaper, masks, brushes)
- Requires some skill for great results
5. Chemical Smoothing
Chemical smoothing is particularly popular for ABS prints. Acetone melts ABS and smooths away visible layer lines.
Method:
Pour acetone into a large container (glass is recommended). Place your prints on a platform above the acetone and close the lid for 10-20 minutes so vapor can melt the outer layer. Ensure vapor can escape rather than build up—if the lid seals tightly, drill a few holes first.
Alternatively, apply small amounts of acetone with a brush directly onto the surface.
Safety First:
Acetone is highly flammable and can explode. Even fumes cause irritation when inhaled. Always work in well-ventilated areas, wear gloves and a mask.
Material Considerations:
PLA doesn’t respond to acetone—it can actually become gummy and ruin the print. PLA can be smoothed with chemicals like THF or MEK, though results won’t match acetone-smoothed ABS. For PVB filament, use isopropyl alcohol.
Pros:
- Smooth, shiny surface
- Acetone is relatively affordable
- Quick results
Cons:
- Only works for ABS and ASA prints
- Can compromise dimensional accuracy
- Risk of warping on larger prints
6. Polishing
Polishing achieves the smoothest possible surface. You can polish 3D prints with plastic polishers and tools from most hardware stores. A microfiber cloth and plastic polisher are the basics, though a Dremel tool makes the process easier.
Process:
Sand your part properly first, finishing with the finest sandpaper. Rinse parts thoroughly to remove all particles. Apply polisher to the sanded part and move the cloth in circular motions until satisfied. A Dremel buffer does much of the work but needs even movement along the surface.
Pros:
- Creates smooth, mirror-like surfaces
- Affordable (unless investing in a Dremel)
Cons:
- Can compromise dimensional accuracy
- Requires moderate skill level
7. Hydro Dipping
Also known as water transfer printing or water transfer imaging, hydro dipping applies printed graphics to solid objects using special water transfer paper. The paper has a PVA side onto which graphics are printed with an inkjet printer.
Process:
Find a large container that fits your part and fill it with hot water. Remove the backing so you’re left with clear PVA and the printed graphic. Lay it carefully into the water and wait for the PVA to dissolve, leaving the graphic floating.
Slowly submerge your part into the graphic at a 45-degree angle. Hold it by hand or attach a stick for distance work. Once fully submerged, shake it a few times, then pull the finished part out.
Hydro dipping only enhances aesthetics without changing feel or dimensions. The design possibilities are endless, making this one of the best ways to create eye-catching prints.
Pros:
- Maintains dimensional accuracy
- Complete design freedom
- Works on all materials
Cons:
- Paper transfers can be expensive
- Needs practice to master
- Not scratch-resistant
8. Epoxy Coating
Epoxy coating improves strength, seals porous areas, and creates a protective layer. The coating consists of two chemicals: epoxy resin and hardener.
Application:
Follow the manufacturer’s mixing instructions carefully—the wrong ratio means coating that never dries. Use a foam applicator or sponge to apply the coating. After the first coat dries, sand it with 1,000- or 2,000-grit sandpaper, then apply the second and final coat.
Products like XTC-3D are designed specifically for 3D printing applications. At 3DLasermonkey, we often use epoxy coatings for parts requiring extra durability.
Pros:
- Improves part strength
- Adds durable protective layer
Cons:
- Layer lines won’t completely disappear
- Can be messy to apply
9. Electroplating
Electroplating adds a metal coating to parts with conductive surfaces. It’s excellent for significantly improving strength and visual appearance.
How It Works:
Electroplating transfers metal coating through electrolysis. You need a power source (battery or rectifier) and an electrolyte—a mixture of metal salt, acid, and water.
The anode (made from your coating metal) connects to the positive pole, while your part acts as the cathode (negative pole). Both dip into the electrolyte. Electric current causes ions to move, transferring metal to your part.
Common metals include copper and nickel, though brass, gold, silver, and chrome also work.
Special Consideration:
Since 3D printed parts are plastic and non-conductive, sand them properly and apply conductive paint before electroplating. While some have tried conductive filament, conductive paint produces more reliable results.
Pros:
- Stronger, conductive parts
- Improved visual appearance
- Dimensional accuracy maintained when done properly
Cons:
- Requires high skill level
- Can be dangerous without safety equipment (gloves and glasses)
At 3DLasermonkey, we apply these post-processing techniques to deliver professional-quality 3D prints to clients across South Africa. Whether you need basic finishing or advanced techniques, understanding these processes helps you achieve the results your project demands.